Stepper Motor and ULN2003: Difference between revisions
Jump to navigation
Jump to search
| Line 40: | Line 40: | ||
from machine import Pin | from machine import Pin | ||
# for the ESP8266 | |||
# In1 = Pin(2,Pin.OUT) # IN1-> GPIO2 | |||
# In2 = Pin(0,Pin.OUT) # IN1-> GPIO0 | |||
# In3 = Pin(4,Pin.OUT) # IN1-> GPIO4 | |||
# In4 = Pin(5,Pin.OUT) # IN1-> GPIO5 | |||
# for ESP32 | |||
In1 = Pin(32,Pin.OUT) | In1 = Pin(32,Pin.OUT) | ||
In2 = Pin(33,Pin.OUT) | In2 = Pin(33,Pin.OUT) | ||
| Line 53: | Line 60: | ||
s1.step(509) | s1.step(509) | ||
</syntaxhighlight> | </syntaxhighlight> | ||
= Related Tutorial Videos = | = Related Tutorial Videos = | ||
<youtube>PEKjvD1uQe4</youtube> | <youtube>PEKjvD1uQe4</youtube> | ||
Revision as of 00:22, 22 December 2020
IMPORTANT
In many computers the current is not enough to drive the servo!!!
If it does not work, keeps disconnecting, or rebooting the ESP the power is not sufficent and you need an extra power supply.
Description
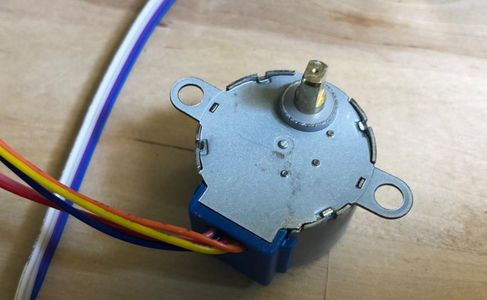
A stepper motor is a motor where the turning can be controlled in steps.
Our motor has about 508 steps for 360° (the motor itself has 64 steps but there is a gear train on top)
more details:
- http://www.jangeox.be/2013/10/stepper-motor-28byj-48_25.html
- https://cookierobotics.com/042/
- see https://github.com/zhcong/ULN2003-for-ESP32
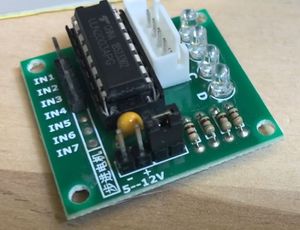
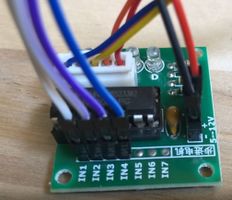
ULN2003 driver module.
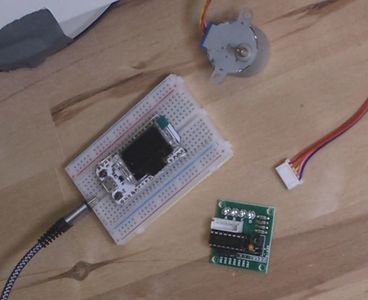
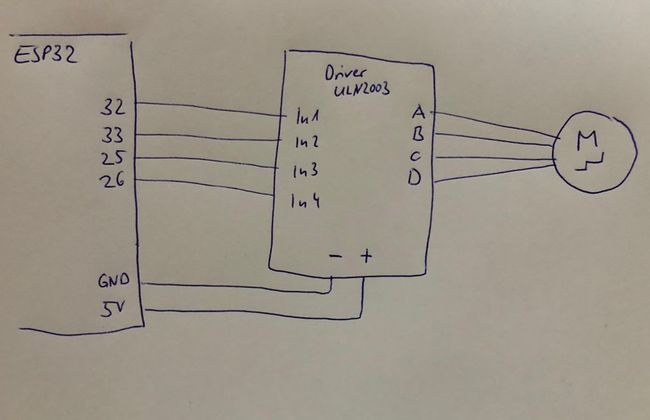
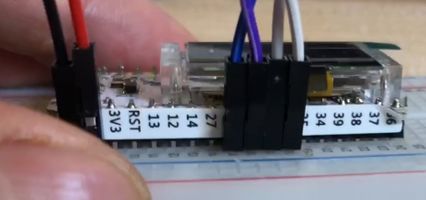
How to connect it electrically
Required Module and Files
- We use Stepper.py
- this is downloaded from https://github.com/zhcong/ULN2003-for-ESP32
- the original file is at https://github.com/zhcong/ULN2003-for-ESP32/blob/master/Stepper.py
- this is based on: https://github.com/IDWizard/uln2003 by (c) IDWizard 2017,MIT License.
How to control it in MicroPython
import Stepper
from machine import Pin

# for the ESP8266
# In1 = Pin(2,Pin.OUT) # IN1-> GPIO2
# In2 = Pin(0,Pin.OUT) # IN1-> GPIO0
# In3 = Pin(4,Pin.OUT) # IN1-> GPIO4
# In4 = Pin(5,Pin.OUT) # IN1-> GPIO5

# for ESP32
In1 = Pin(32,Pin.OUT)
In2 = Pin(33,Pin.OUT)
In3 = Pin(25,Pin.OUT)
In4 = Pin(26,Pin.OUT)

s1 = Stepper.create(In1,In2,In3,In4, delay=10)

s1.step(509,-1)

s1 = Stepper.create(In1,In2,In3,In4, delay=1)

s1.step(509)
Related Tutorial Videos
