Difference between revisions of "Potentiometer"
Jump to navigation
Jump to search
| Line 11: | Line 11: | ||
= How to connect it electrically = | = How to connect it electrically = | ||
| − | + | [[File:PotiConnection1.png|300px]] | |
| − | |||
| − | |||
= How to control it in MicroPython = | = How to control it in MicroPython = | ||
| Line 32: | Line 30: | ||
Schematic drawing: | Schematic drawing: | ||
| + | |||
[[File:PotiConnection1.png|300px]] | [[File:PotiConnection1.png|300px]] | ||
| − | |||
| − | |||
| − | |||
| − | |||
| − | |||
| − | |||
| − | |||
| − | |||
= Related Tutorial Videos = | = Related Tutorial Videos = | ||
<youtube>gjj5KyK2qGI</youtube> | <youtube>gjj5KyK2qGI</youtube> | ||
| − | |||
| − | |||
| − | |||
| − | |||
| − | |||
| − | |||
Revision as of 23:39, 29 August 2020
Contents
Description
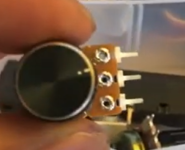
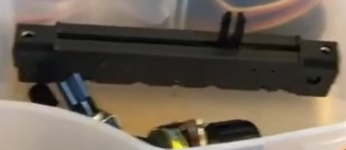
A potentiometer is a resistor that can be mechanically changed. Typically form factors are knobs (turn to change) or sliders. The change of resistance is either linear (resistance changes linear with the angle or distance) or logarithmic.
Potentiometer
Slider
How to connect it electrically
How to control it in MicroPython
1 from machine import Pin, ADC
2 from time import sleep
3 pot = ADC(Pin(34))
4 pot.atten(ADC.ATTN_11DB)
5 while True:
6   pot_value = pot.read()
7   print(pot_value)
8   sleep(0.5)
Here the voltage of Pin 34 is manipulable with the poti:
Schematic drawing:
Related Tutorial Videos

